Laser PCB Etching
- Project Type
- Laser Engraving, PCB Design
- Year
- 2022
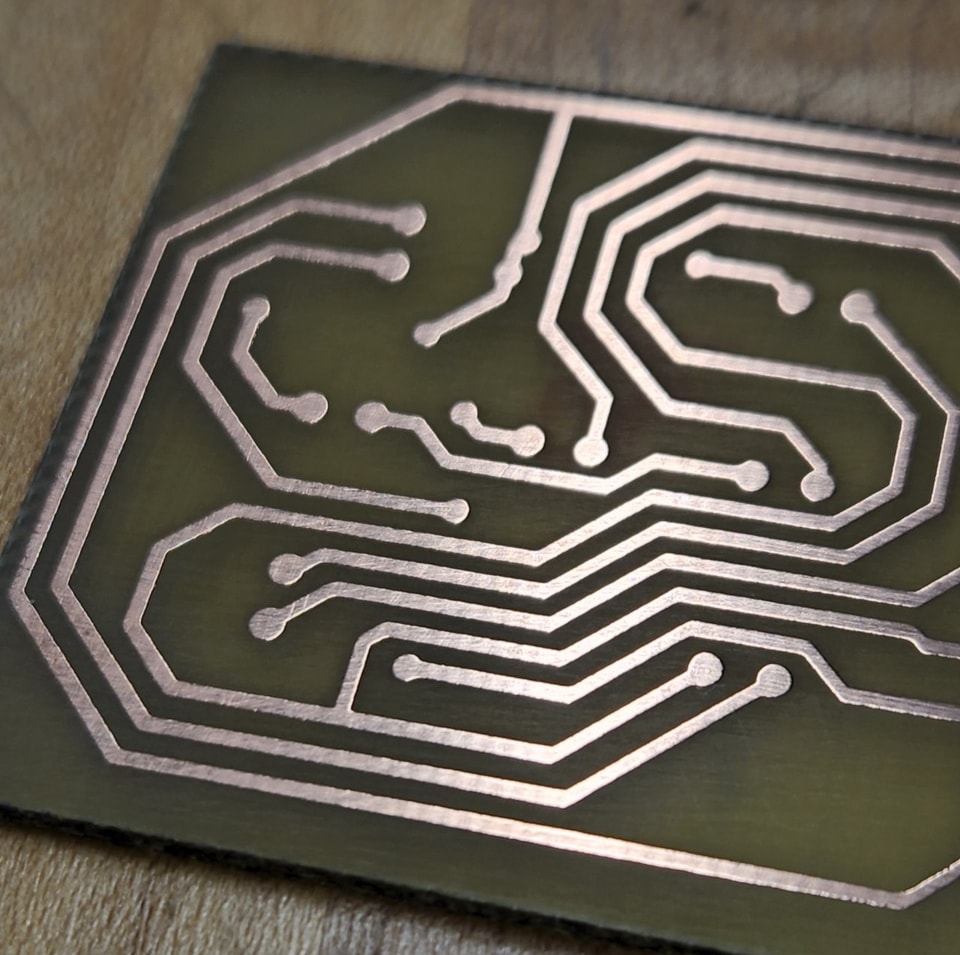
A process for rapidly prototyping circuit boards with a laser engraver. The laser clears a painted mask from a copper-clad board to expose the copper for high-resolution acid etching.
01
Letting the laser draw the mask
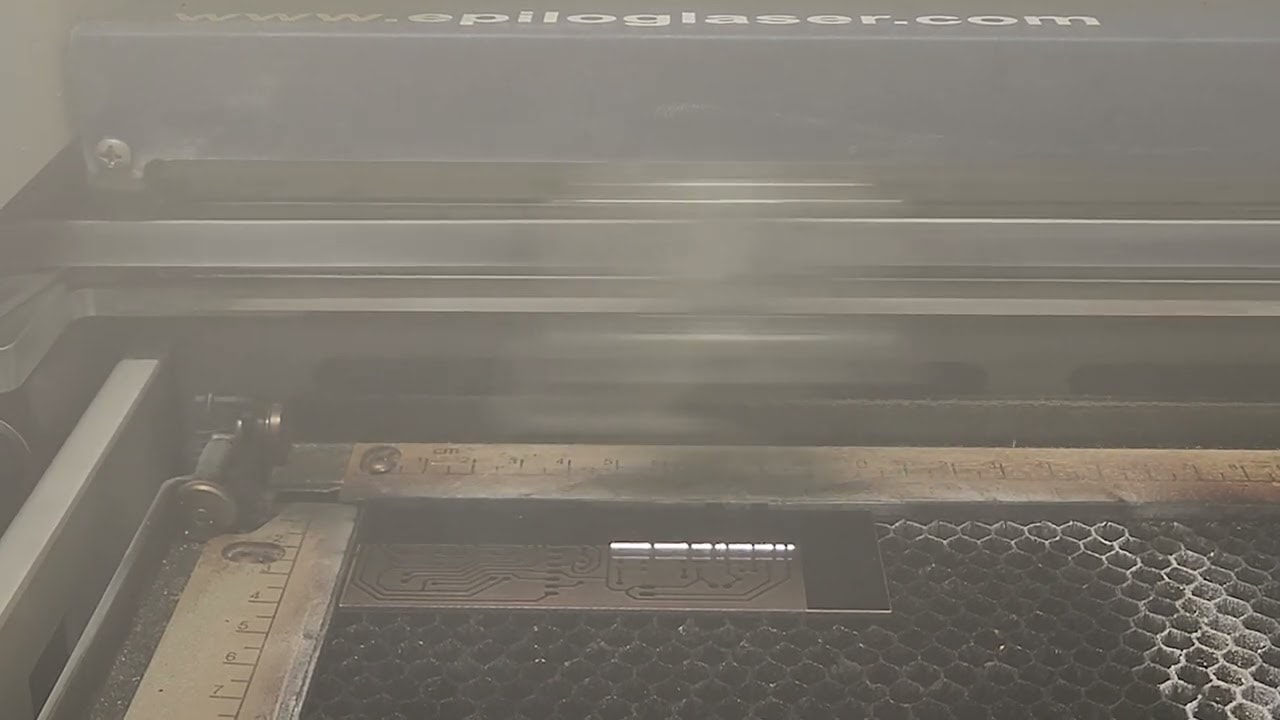
I wanted a fast way to prototype my own circuit boards, so I worked out a process around the laser engraver. A CO2 laser can’t cut copper, because the beam reflects right off it, so the laser removes a mask instead. I spray the copper-clad board matte black, and the laser burns the paint off everywhere the copper has to be etched away, leaving the traces covered.
The engraver is an Epilog Fusion, which engraves at 160 inches per second while holding 1200 DPI, so the traces come out far finer and more even than anything drawn by hand. The video is sped up; the whole job takes about ten minutes.
02
Acid, then a finished board
Two engraving passes at 1200 DPI clear the paint properly, and a quick scrub with Scotch-Brite takes off the thin clear layer the paint leaves behind. The board then goes into heated, agitated ferric chloride until all the exposed copper has dissolved. Steel wool strips the rest of the mask off the traces, and each pad gets drilled with a 0.7 mm bit.
The blog post tells the story of how the process came together, with every test along the way.